
Exploring k6 Performance Testing Framework
December 8th, 2021 in Blog
This post is about a recent project that included a requirement to complete performance and load testing. Along the way, we ran into a few challenges that, once solved, turned into valuable lessons worth sharing with others. We describe how we completed our objective and explain why we decided to use the k6 load testing tool.
Historically, performance and load testing is an afterthought on software projects. The sentiment “performance is not an issue until it’s an issue” is quite common in the development community. Keeping this in mind, we aimed to implement performance and load testing early in the project life cycle, driven by the “Agile/DevOps shift-left” testing approach that’s been dominant in the software industry in recent years.
We chose the k6 testing tool because it allowed us to write clean JavaScript tests and incorporate them into our CI/CD pipeline, which helped implement the shift-left testing approach. Using k6 also allowed us to avoid the specific, hard-to-learn skills that other legacy performance testing tools often require.
The project technologies and environment comprised a Node.js application hosted on Azure with Azure AD B2C customer identity access management.
We knew that k6 came with limitations: we would not be able to run our tests in Node.js or a browser. As a result, we concentrated on testing backend APIs. A second limitation was that we would not be able to execute k6 tests as part of our build. To overcome this limitation, we decided to use Docker and run our k6 tests in a separate build.
The first thing our team did was to run a simple k6 script, as follows:
import http from 'k6/http';
import { sleep } from 'k6';


export default function () {
  http.get('https://test.k6.io');
  sleep(1);
}
This script resulted in the following:
k6 run script.js
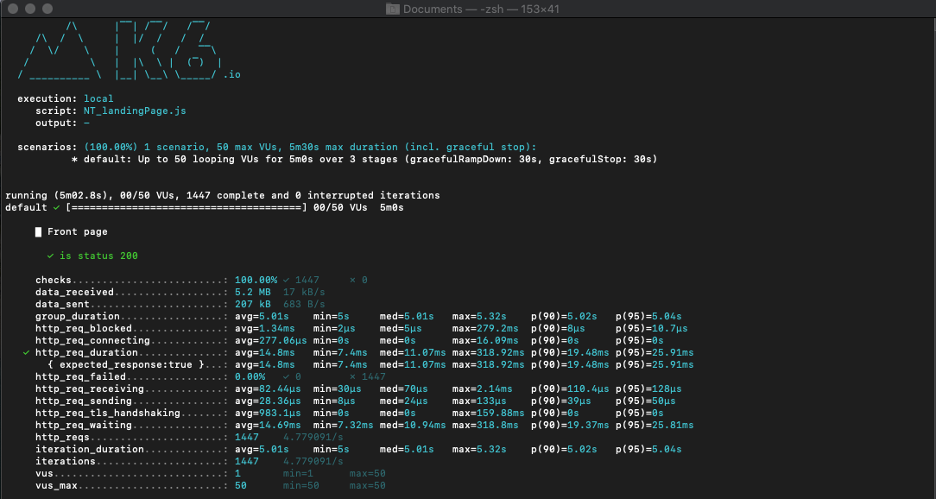
Encouraged by the results of Step 1, we attempted to run a simple k6 script against a local API. However, the result of this test was many 401 Unauthorized responses, as shown below. This result occurred because our tests did not have a valid Bearer token attached to them.
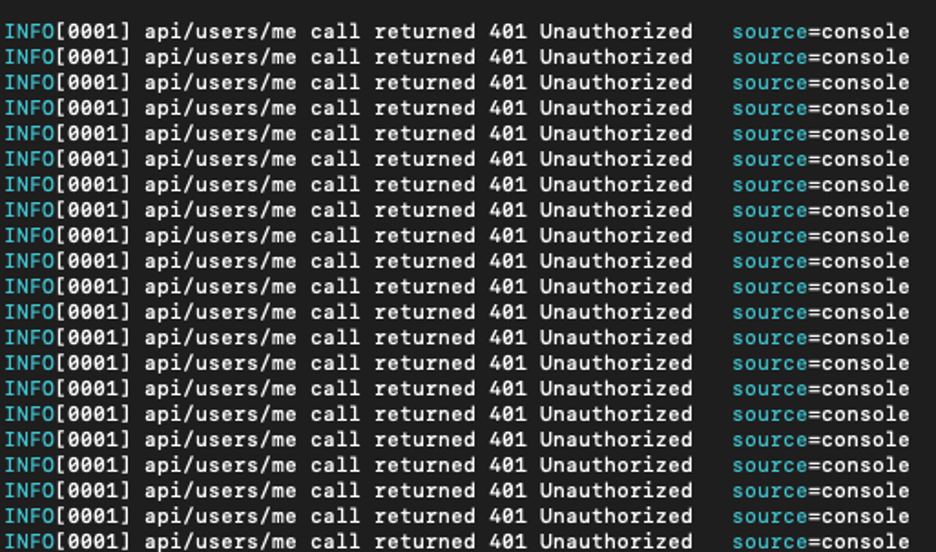
As noted earlier, we used Azure AD B2C for managing user policies and flows. The application used the Proof Key for Code Exchange (PKCE) flow, which presents users with a login screen and requires them to manually enter their credentials. Successful authentication triggers the creation of a token that allows access to the application.
Our team investigated Postman Cloud and Google’s Puppeteer Node as alternative solutions. However, these options turned out to be workarounds that unfortunately did not fit our requirements due to complexity and security concerns. Our team discovered that the logical solution would be a user flow that was not dependent on any manual steps – the Resource Owner Password Credentials (ROPC) flow.
A full description of how the ROPC flow works and how to set it up are beyond the scope of this post. For additional details on ROPC, please see:
The ROPC user flow allows callers to obtain a secure Bearer token by querying the token end-point with valid credentials. Here’s how it works:
1. We used Postman to obtain the token (details provided below):
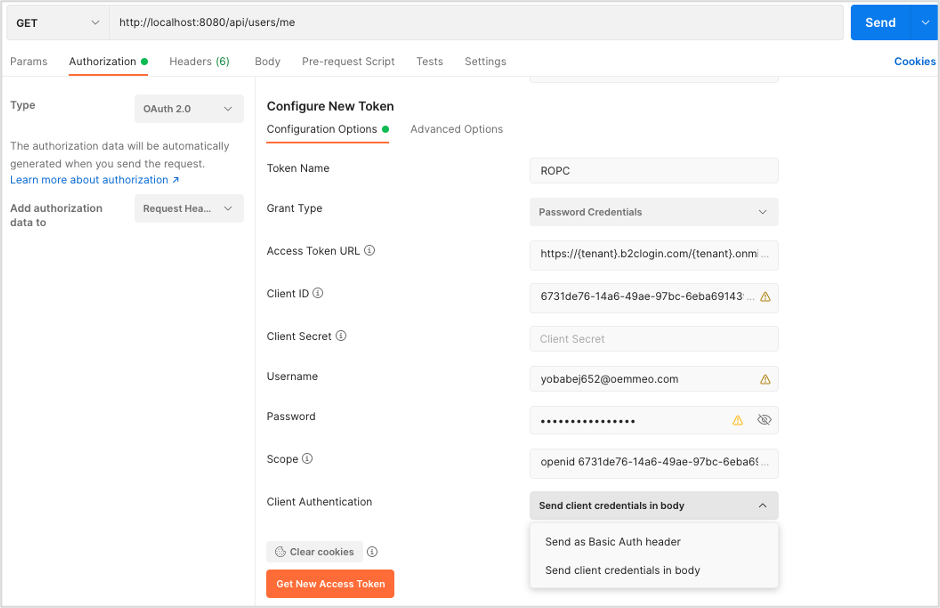
| Parameter | Value | Comment |
| Type | OAuth 2.0 | |
| Add authorization data to | Request Headers | |
| Grant Type | Password Credentials | |
| Access Token URL | https://{tenant}.b2clogin.com/{tenant}.onmicrosoft.com/ B2C_1_ROPC_Auth/oauth2/v2.0/token |
Access Token URL should be provided to you by the person who did the setup of ROPC flow |
| Client ID | {client_id} | |
| Scope | openid {client_id} offline_access | |
| Client Authentication | Send client credentials in the body | Don’t send client credentials as headers |
2. We click on Get New Access Token, and voila!
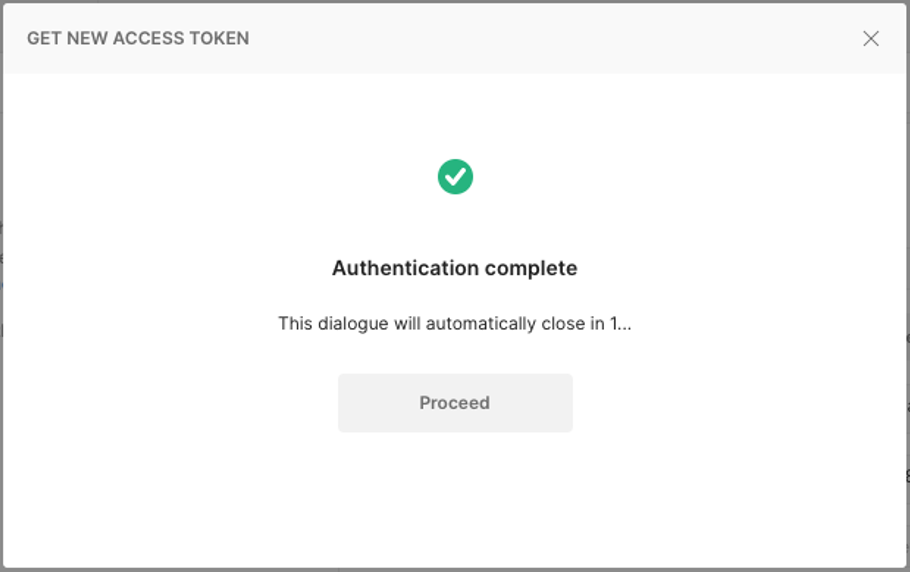
Next, we used this token to query our API. In this example:
http://localhost:8080/api/users/me
runs a simple GET request that will return basic information about the user:
{

    "id": "e1330316-04c8-4ad6-bc48-177b0091aeee",
    "firstName": "TEST",
    "lastName": "USER",
    "email": "[email protected]",
    "groups": [
        "user",
        "default"
    ],
    "verified": true,
    "status": "ACTIVE"
}
After figuring out how to make OAuth work, we were ready to write more complex tests. Below we have included the script we used to run our tests locally. The first step is to create a k6_test.js file in your project under test/performance and add the following:
import http from 'k6/http';
import { group, check, sleep } from 'k6';
import { Rate } from 'k6/metrics';
let errorRate = new Rate('errorRate');
let url = 'https://exampletenant.b2clogin.com/exampletenant.onmicrosoft.com/B2C_1_ROPC_Auth/oauth2/v2.0/token';
let payload = {
  client_id: '6731de76-14a6-49ae-97bc-6eba6914391e',
  scope: 'openid 6731de76-14a6-49ae-97bc-6eba6914391e offline_access',
  username: '[email protected]',
  password:'SuperS3cret',
  grant_type: 'password',
};
let requestURL = 'http://localhost:8080/';
export const options = {
  setupTimeout: '20s',
  scenarios: {
    constant: {
      executor: 'constant-vus',
      exec: 'constant',
      vus: 100,
      duration: '60s',
    },
    arrivalrate: {
      executor: 'constant-arrival-rate',
      rate: 90,
      timeUnit: '1m',
      duration: '5m',
      preAllocatedVUs: 50,
      exec: 'arrivalrate',
    },
},
Once a load profile is defined, consider which APIs best suit it. For example, when testing the constant arrival of users to your landing page, several API calls might be made to the backend application. You can use the constant-arrival-rate k6 executor and group all relevant tests under this scenario. Another example, you might want to know how an application will behave when several users simultaneously click the “Add to cart” button or the search bar functionality. Here, you can use the constant-vus k6 executor. Also, it is important to note that the same API calls can be tested under different load profiles.
This article provides more advanced information regarding test options and test scenarios in k6.
thresholds: {
  'group_duration{group:::api/users/me}': ['p(95) < 500'],
  'group_duration{group:::api/admins/me}': ['p(95) < 800'],
  'group_duration{group:::another/api/call}': ['p(95) < 3000'],
  'http_req_duration': ["p(99.9) < 2000"],
    'errorRate': [
      // more than 1% of errors will abort the test execution
      { threshold: 'rate < 0.01', abortOnFail: true}
    ],
  }
};
Define suitable thresholds for every test.

export function setup() {
  let response = http.post(url, payload);
  return response.json();
}
export function constant (data) {
 let params = {
    headers: {
        'Accept': '*/*',
        Authorization: `Bearer ${data.access_token}`,
    },
  };
  group('api/users/me', function () {
      let result = http.get(requestURL + 'api/users/me', params);

      const checkResult = check(result, {
          'response code was 200': (r) => r.status === 200,
      });

      if(result.status != 200){
        log('api/users/me call returned ' + result.status_text);
      };
      errorRate.add(!checkResult);

      sleep(Math.random() * 2);
  });

  group('api/admins/me', function () {
      let result = http.get(requestURL + 'api/admin/me', params);

      const checkResult = check(result, {
          'response code was 200': (r) => r.status === 200,
      });

      if(result.status != 200){
        console.log('api/admins/me call returned ' + result.status_text);
      };
      errorRate.add(!checkResult);

      sleep(Math.random() * 10);
  });

  group('another/api/call', function () {
     ...
  });
}

export function arrivalrate (data) {
  ...
}
Under the hood, k6 will assign the result of the setup() function to data variables that can be accessed in your tests. You can grab the access_token and pass it as a header to your test.
It is important to randomize the timing between test executions:
sleep(Math.random() * 10);
In this example, k6 will randomly delay test execution between 0 and 10 seconds.
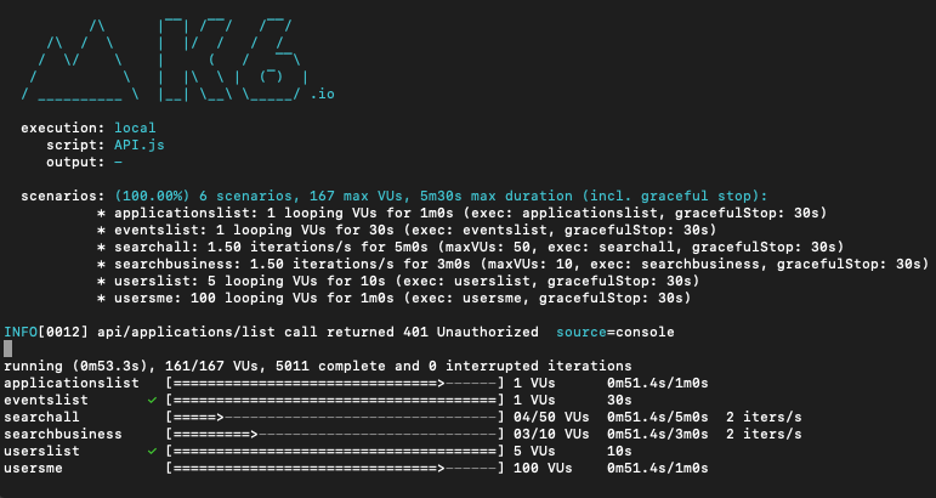
Now, you can run your tests locally by navigating to the directory containing the k6_test.js file and running this command:
k6 run k6_test.js
Due to limitations with k6, we used Docker to run our k6 tests in a separate build. To do this, we needed to modify our Test variables like so:
const ENV_LOGIN = __ENV.LOGIN;
const ENV_PASSWORD = __ENV.PASSWORD;

let errorRate = new Rate('errorRate');
let url =
'https://exampletenant.b2clogin.com/exampletenant.onmicrosoft.com/B2C_1_ROPC_Auth/oauth2/v2.0/token';
let payload = {
 client_id: '6731de76-14a6-49ae-97bc-6eba6914391e',
  scope: 'openid 6731de76-14a6-49ae-97bc-6eba6914391e offline_access',
  username: ENV_LOGIN,
  password: ENV_PASSWORD,
  grant_type: 'password',
};
let requestURL = 'http://host.docker.internal:8080/';
Several changes were made in the above code:
Now, you can run your tests using the k6 Docker image:
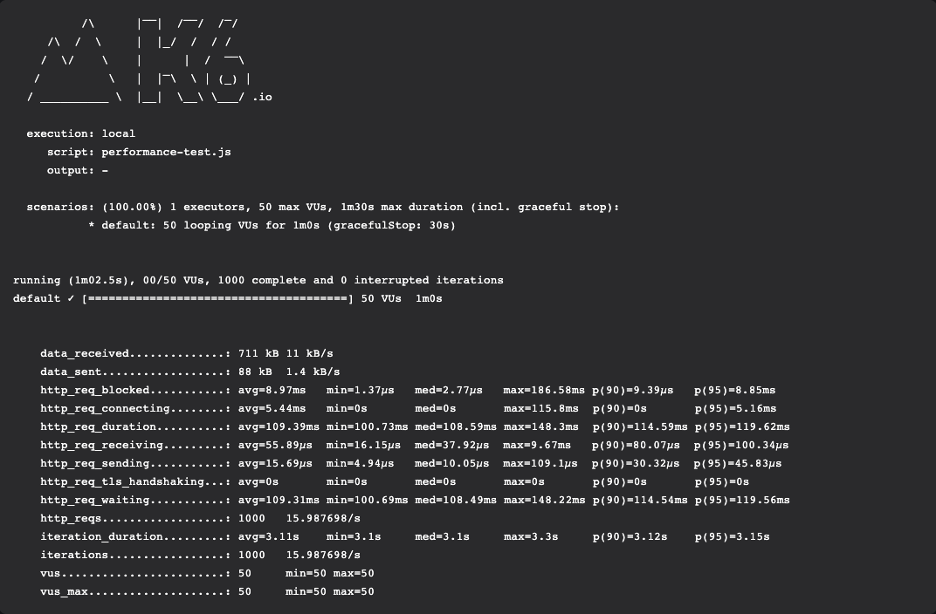
docker run -i --rm -e "[email protected]" -e "PASSWORD=SuperS3cret" loadimpact/k6 run - < test/performance/k6_test.js
Here’s the example output from the Docker CLI :
Intelliware is known for quality software development and promoting Agile best practices with our clients. One of the practices we foster is to test early and often. We’ve had challenges in the past finding the right load and performance testing tool to integrate into our development process without inflicting too much manual effort. k6 fits this role perfectly because it’s easy to use and provides short feedback loops to our development team in real-time. Timely feedback allows our developers to determine how new code will affect application performance.
In this article, we only scratched the surface of writing k6 tests; there’s much more to cover, including:
We hope this article helps you to improve your tests!